
There’s something timeless about a buttery, sweet graham cracker crust.
This Pie Crust Graham Cracker recipe is quick, easy, and foolproof — perfect for cheesecakes, tarts, or creamy pies.
It delivers a deliciously crisp base with just the right amount of sweetness and a hint of caramel flavor.
Why You’ll Love This Recipe
This crust requires no special tools or complicated steps — just four simple ingredients and five minutes of prep.
The graham cracker base adds a warm, honey-like flavor that pairs beautifully with nearly any filling.
It’s a no-fail recipe for beginners, yet versatile enough for professional bakers.
Best of all, it can be baked for a firmer crust or chilled for a softer, melt-in-your-mouth texture.
What You’ll Need (Ingredient Highlights)
Graham cracker crumbs form the heart of this crust, creating a toasty, cookie-like flavor.
Granulated sugar sweetens the crust and helps bind the crumbs together.
Salt balances the sweetness and enhances flavor — omit if using salted butter.
Unsalted butter brings richness and helps the crust hold its shape once chilled.
Pro Tips Before You Start
Use finely crushed crumbs for an even, compact crust — no large chunks.
Make sure your butter is fully melted and slightly cooled before mixing.
Press the crust firmly into the pan using the bottom of a measuring cup for an even layer.
Chill for at least 2 hours (or bake for 10 minutes at 350°F) for a sturdier base.
If baking, let the crust cool completely before adding any filling.
How to Make Pie Crust Graham Cracker
Step 1 – Prepare the graham cracker crumbs
Crush the graham crackers in a food processor until fine.
Alternatively, place them in a sealed bag and crush with a rolling pin.
Step 2 – Mix the dry ingredients
In a medium bowl, combine the graham cracker crumbs, sugar, and salt (if using).
Stir until evenly mixed.
Step 3 – Add the melted butter
Melt the butter in a microwave-safe bowl.
Allow it to cool slightly, then pour it over the crumb mixture.
Stir until all crumbs are evenly coated and moistened.
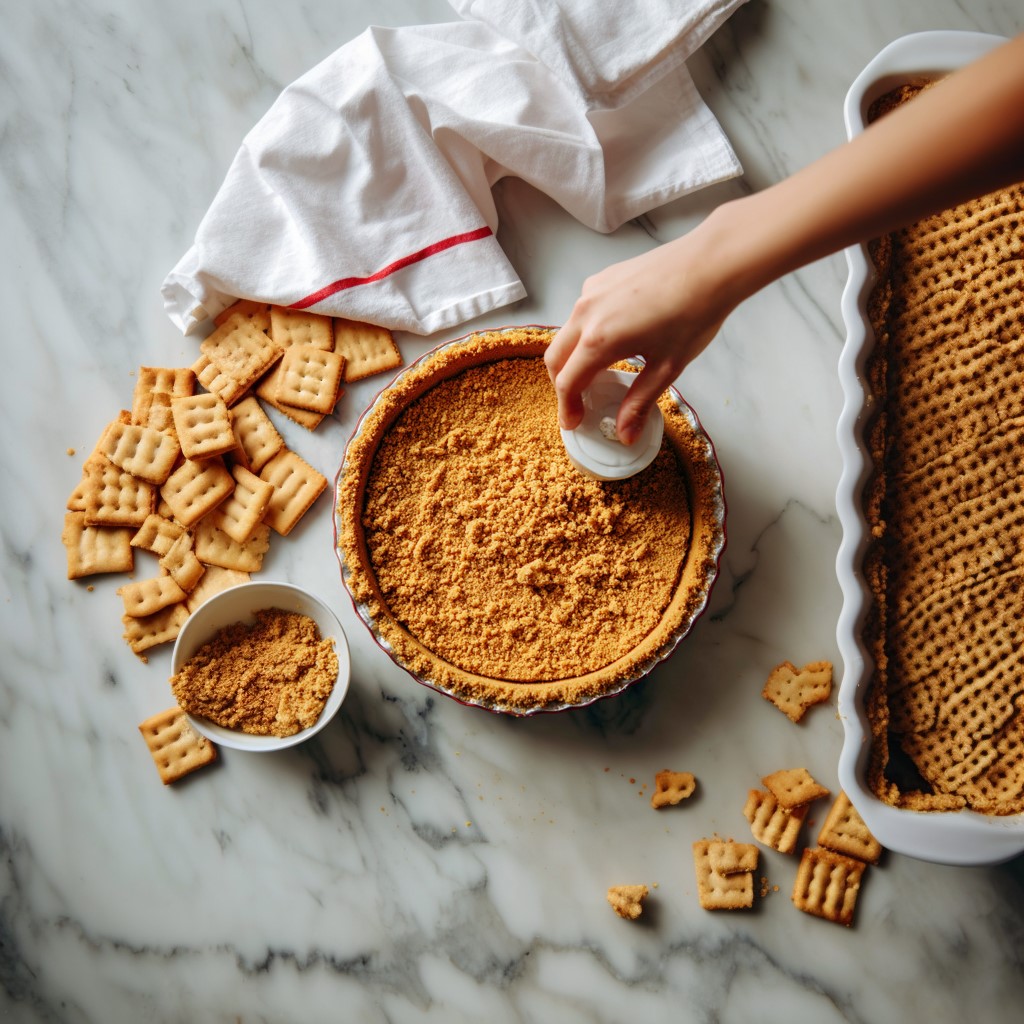
Step 4 – Press into the pan
Transfer the mixture to a pie dish or springform pan.
Use the bottom of a measuring cup or glass to press it evenly across the bottom and up the sides.
Step 5 – Chill or bake
For a no-bake crust, chill in the refrigerator for at least 2 hours to set.
For a baked crust, bake at 350°F (175°C) for 8–10 minutes, then cool completely before adding the filling.
What to Serve It With
This crust is perfect for cheesecakes, key lime pies, chocolate silk pies, or icebox desserts.
It also pairs beautifully with no-bake fillings like pudding, mousse, or fruit cream.
Try it with s’mores pie for a nostalgic twist or with pumpkin filling for a seasonal dessert.
You can even use it as a base for mini tarts or dessert bars.
Variations / Substitutions
Use chocolate or cinnamon graham crackers for a flavor twist.
Replace butter with coconut oil for a dairy-free version.
Add a pinch of cinnamon or nutmeg for warmth and aroma.
Mix in finely chopped nuts like pecans or almonds for added crunch.
Substitute brown sugar for a deeper, caramelized flavor.
Storage & Leftovers
Store the prepared crust (unfilled) in the refrigerator for up to 5 days.
If baked, allow it to cool fully, then wrap tightly in plastic wrap.
To freeze, store the crust in a pie tin and wrap securely in foil or plastic; freeze for up to 3 months.
Thaw in the refrigerator before filling.
Once filled, store the finished pie according to the filling’s storage needs.
FAQs
Do I need to bake this crust?
No, it can be used as a no-bake crust, but baking gives it a firmer texture.
Can I use pre-crushed graham cracker crumbs?
Yes, just measure out 2 cups for the recipe.
Can I make this crust ahead of time?
Absolutely — prepare and chill it up to 2 days in advance.
What if I don’t have a food processor?
Use a rolling pin and a resealable plastic bag to crush the crackers by hand.
Can I use salted butter?
Yes, but omit the added salt from the recipe.
How do I keep the crust from crumbling?
Press the crumbs firmly and use enough melted butter to hold them together.
Can I make this crust gluten-free?
Yes, use gluten-free graham crackers for an easy swap.
Can I freeze the crust?
Yes, wrap tightly and freeze for up to 3 months.
What kind of pan works best?
A 9-inch pie dish or springform pan works perfectly.
Why chill the crust before filling?
Chilling solidifies the butter, helping the crust stay firm and neat when sliced.
Final Thoughts
This Pie Crust Graham Cracker recipe is one of those simple baking essentials you’ll make again and again.
It’s easy, delicious, and incredibly versatile — a buttery, crunchy foundation for endless pie possibilities.
Whether baked or chilled, it always delivers that classic homemade taste everyone loves.